How To: Line a Gas Forge

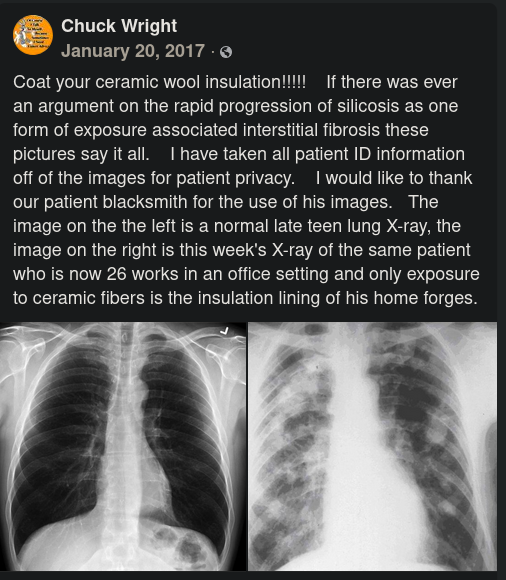
Always wear a respirator and gloves while handling uncured refractory and unrigidized ceramic wool!
You Will Need
Materials
- Ceramic wool blanket High Temp Tools | Amazon (Provides insulation and thermal mass to the forge)
- Rigidizer Amazon (Stabilizes the ceramic wool fibers)
- Castable refractory High Temp Tools | Amazon (Protects the rigidized ceramic wool from damage by normal wear and tear)
- Optional: ITC-100 High Temp Tools | Amazon
Equipment
- Disposable gloves
- Respirator with minimum P100 filters (the pink ones)
- Something to cover your work surface (eg cardboard, kraft paper, plastic sheeting, or a dropcloth)
- Spray bottle nozzle (borrow one from a household cleaning product, rinse well)
- Spray bottle of clean water
- Something to apply mixed refractory, such as a paintbrush or foam brush
Follow the instructions provided for your specific products, but generally speaking, the process goes like this:
The Process
Rigidize
- Spread out your ceramic wool on a flat surface lined with a protective covering.
- Thread a spray bottle nozzle to the bottle of rigidizer. Spray the entire bottle of rigidizer onto the ceramic wool, making sure to fully saturate both sides.
- Apply the saturated, still-wet wool to the inside of your forge. Let dry for 24 hours or until the wool is rigid to the touch.
Heat cure
- Reinstall the forge burners.
- Bring the forge up to heat very slowly, making sure to turn the forge off and let it cool completely each time it starts to steam.
Apply refractory
- Remove the forge burners.
- Lightly spray the ceramic wool with clean water, just enough to moisten it slightly.
- Mix about half of your refractory according to the manufacturer’s instructions. We will use the other half later.
- Apply a thin, even layer of the refractory to all exposed ceramic wool, including the exposed edges of the wool on the ends of your forge.
- Let dry at least 24 hours, then repeat heat cure instructions above.
At this stage, check carefully for cracks and holes. If you see fiber, repair it in the next stage
Apply more refractory
- Remove the forge burners.
- Lightly spray the first layer of cured refractory with water.
- Mix the remaining refractory according to the manufacturer’s instructions.
- Apply the remaining refractory to the inside of your forge, making sure to focus on any cracks that may have formed.
- Let dry at least 24 hours, then repeat heat cure instructions above.
Optional: Refractory coating
To improve your forge’s efficiency and increase its maximum temperature, you can optionally apply ITC-100 high temperature ceramic coating to your forge. Follow the included instructions to apply this product.